Edge Guard Won't Stick to Furniture? Quick Fixes for Pre-Taped Baby Proofing Bumpers
Pre-taped edge guards that won't stay put can leave sharp corners exposed. Surface prep, application technique, and proper removal make all the difference when baby proofing furniture.
Why Pre-Taped Edge Guards Fail to Stick
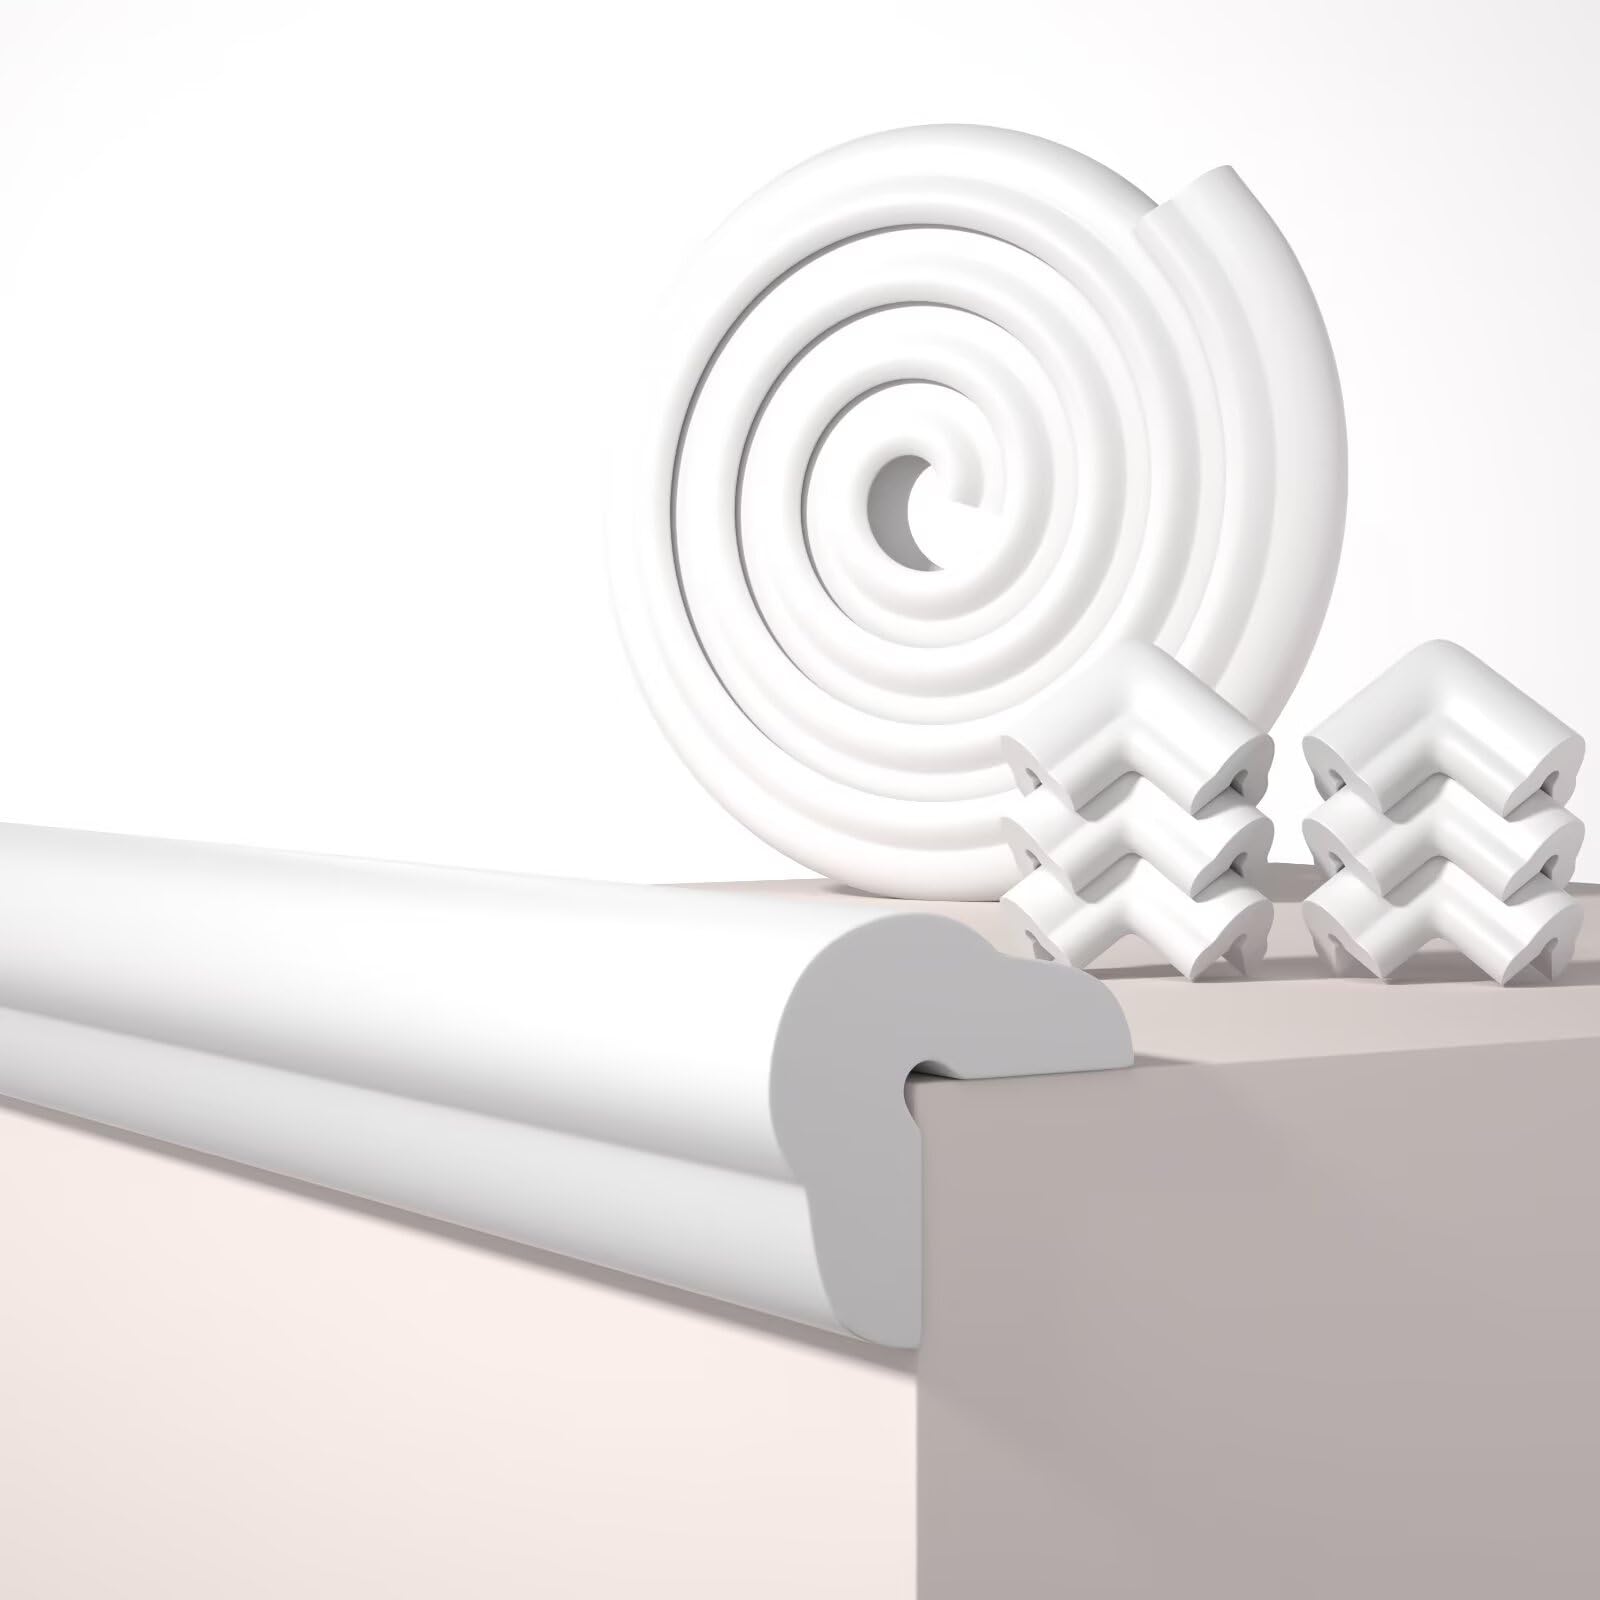
Pre-applied adhesive edge guards promise quick installation, but many parents find them peeling within days. The Baby Proofing Edge Protector offers strong pre-taped backing, yet even quality products fail when surfaces aren't properly prepared or application steps are skipped.
Common Adhesion Problems and Solutions
Surface Contamination
Dust, oils, and furniture polish prevent adhesive from bonding. Before applying any edge guard, wipe surfaces with rubbing alcohol and let them dry completely. This step removes invisible residue that blocks adhesion on wood, glass, metal, and plastic furniture.
Temperature and Humidity
Cold surfaces reduce adhesive tackiness. Install edge guards in room-temperature conditions, ideally between 60-80°F. The Baby Proofing Edge Protector adheres best when both the room and furniture have warmed to ambient temperature.
Insufficient Pressure During Application
Pressing the guard firmly for 30 seconds activates the adhesive bond. Run your hand along the entire 6.6-foot strip, applying steady pressure to ensure full contact. Pay extra attention to corners where the L-shape guard curves.
Installation Steps That Prevent Peeling
- Clean the edge with alcohol wipes and allow 5 minutes drying time
- Measure and cut the flexible foam strip to match furniture dimensions
- Peel back only 2-3 inches of backing at a time to prevent premature sticking
- Align the L-shape profile against the edge before pressing down
- Apply firm, continuous pressure along the entire strip
- Wait 24 hours before allowing contact or cleaning
Fixing Corners That Lift
Corner bumpers experience more stress than straight edges. The included 6 corner covers work best when the furniture corner is completely clean and dry. If a corner lifts, remove it, clean both surfaces again, and reapply with 60 seconds of firm pressure.
When Removal Goes Wrong
Tearing off edge guards damages furniture finishes. The Baby Proofing Edge Protector removes cleanly when you warm the adhesive first. Use a hair dryer on low heat for 15-20 seconds, then peel slowly at a 45-degree angle. This technique leaves minimal marks on original finishes.
Stubborn Residue Cleanup
Adhesive residue responds to gentle heat and oil. Apply a small amount of cooking oil, let it sit for 5 minutes, then wipe with a soft cloth. Avoid harsh scrapers that gouge wood or scratch glass surfaces.
Surface Compatibility Check
| Surface Type | Adhesion Quality | Prep Notes |
|---|---|---|
| Sealed wood | Excellent | Clean with alcohol |
| Glass | Excellent | Remove all streaks |
| Metal | Very good | Degrease thoroughly |
| Plastic | Good | Test small area first |
| Unfinished wood | Poor | Not recommended |
Maintenance for Long-Term Hold
Water resistant and oil repellent surfaces stay cleaner in high-traffic areas. The 0.67-inch thick NBR foam withstands daily contact while the water-resistant coating prevents adhesive degradation from spills. Wipe the guard weekly with a damp cloth to remove dust that can work under the edges.
Verdict
The Baby Proofing Edge Protector provides reliable adhesion when proper surface prep and application technique are followed. The integrated air buffering zones and cuttable design handle irregular furniture shapes, while the pre-taped backing eliminates messy glue. Removal remains gentle on finishes when heat is used, making this a reversible safety solution.
Best For
Parents baby proofing smooth furniture surfaces like coffee tables, dining tables, and kitchen counters. Households needing both edge strips and corner coverage will appreciate the included 6 corner pads. The 6.6-foot length suits multiple furniture pieces or larger single surfaces.
Skip If
Your furniture has textured, porous, or easily damaged finishes. The warning against weak or removable finishes is essential—test an inconspicuous spot first. Families seeking permanent installation may prefer screw-mounted guards, though those create holes.
Related Buying Guides
- Best Silicone Placemat for On-the-Go Baby Meals Under $10
- Best Lanolin Nipple Creams for Your Hospital Bag: Compact Relief From Day One
- How to Wash and Care for Muslin Baby Blankets So They Last
- Thick vs Thin Playpen Mats: Which Cushion Level Does Your Baby Actually Need?
- Car Seat Protector Features That Actually Matter for Everyday Parenting
- Best Baby Carrier with Hip Seat for Baby Shower Gifts 2026