How to Set Up Your HelloBaby 6-Inch Baby Monitor for Reliable, WiFi-Free Monitoring
Step-by-step setup guide for the HelloBaby 6-inch IPS baby monitor. Learn how to position, charge, and optimize your WiFi-free monitor for clear video and long battery life.
Setting Up Your HelloBaby 6-Inch Baby Monitor
The HelloBaby 6-inch IPS baby monitor offers a secure, WiFi-free monitoring solution with a large screen and up to 30 hours of battery life. Proper setup ensures you get the clearest video, longest battery performance, and most reliable connection from day one.
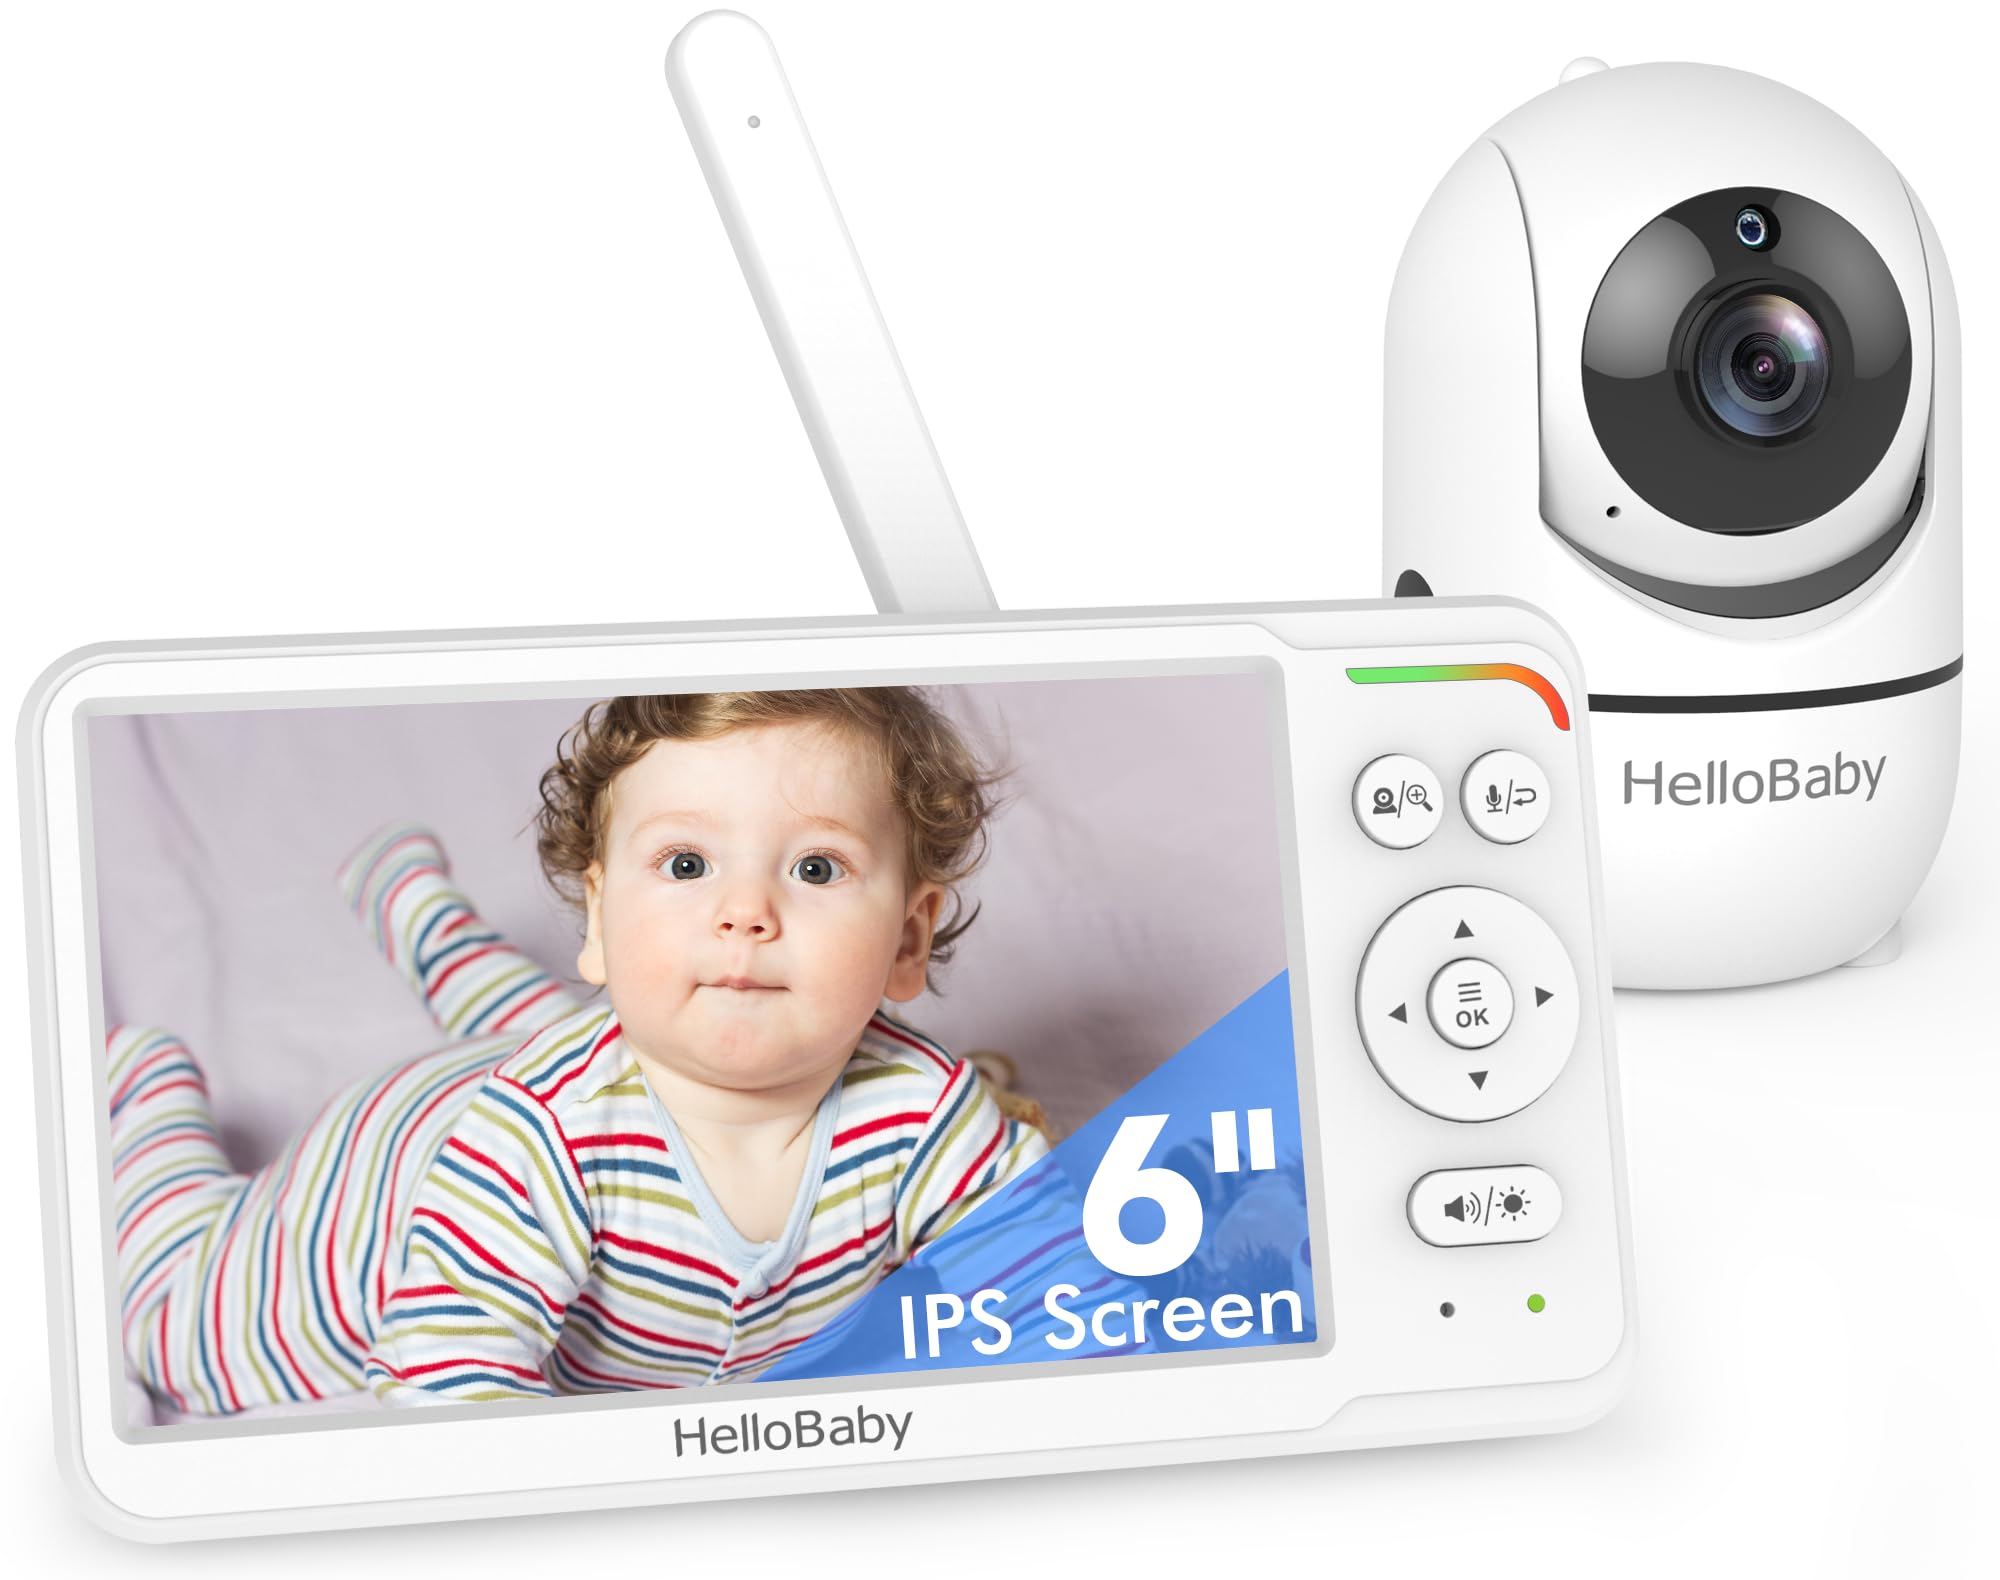
Step 1: Charge Both Units Fully Before First Use
Before pairing, plug in the monitor screen and camera using the included power adapters. A full initial charge takes about 4–5 hours and optimizes battery longevity. The monitor's battery lasts 16–30 hours depending on screen brightness and VOX mode settings, so starting with a complete charge ensures uninterrupted overnight monitoring.
Step 2: Position the Camera for Optimal Coverage
Mount the camera 5–8 feet from the crib at a slight downward angle. The HelloBaby camera offers 355° pan and 120° tilt, so you can adjust the view remotely from the parent unit. Keep the camera within 1000 feet line-of-sight of the monitor for a stable connection. Avoid placing it near thick walls, metal objects, or other wireless devices that may cause interference.
Step 3: Pair the Monitor and Camera
Turn on both units. They should pair automatically within seconds. If pairing fails, press and hold the pairing button on the back of the camera for 3 seconds, then select the camera channel on the monitor screen. The large 6-inch IPS display will show a live feed once connected. The screen's wide viewing angle reduces eye strain, especially during nighttime checks.
Step 4: Adjust Night Vision and VOX Settings
The camera switches to infrared night vision automatically in low light. To extend battery life, enable VOX mode in the settings menu—this keeps the screen off until the camera detects sound, then activates the display. Adjust the sensitivity level to suit your baby's sleep patterns and room acoustics.
Step 5: Test Two-Way Talk and Range
Walk to different rooms while monitoring the video feed to confirm the 1000-foot range works in your home layout. Test the two-way talk feature by speaking into the monitor; your voice should come through the camera clearly. This is useful for soothing your baby remotely without entering the room.
Who This Monitor Is For
- Parents seeking a WiFi-free, hack-proof baby monitor with a large, easy-to-read screen
- Grandparents or caregivers who prefer simple, plug-and-play devices without app setup
- Households with thick walls or limited WiFi coverage where a dedicated video monitor is more reliable
Who Should Consider Alternatives
- Parents who need smartphone remote access or multi-user viewing
- Families wanting cloud recording or smart home integration
Keep Your Monitor Running Smoothly
Clean the camera lens monthly with a soft, dry cloth to maintain clear video. Recharge the monitor screen every few days or leave it plugged in during extended use. Check for firmware updates on the HelloBaby website to ensure optimal performance and new features.
Related Buying Guides
- IPS Screen Baby Monitors: Why the 6-Inch Display Makes a Difference
- HelloBaby HB6560 vs HB6550 vs VTech VM819: Which Non-WiFi Baby Monitor Is Best?
- HelloBaby 6-Inch IPS Baby Monitor Review: Best No-WiFi Video Monitor for New Parents in 2026
- Best No-WiFi Baby Monitors for Secure Privacy in 2026: HelloBaby vs VTech Compared
- How to Choose a No-WiFi Baby Monitor with Long Battery Life
- HelloBaby 6" IPS vs VTech VM819 vs HelloBaby 5" HB6550: Which No-WiFi Baby Monitor Is Best?