How to Set Up a No WiFi Baby Monitor in 5 Easy Steps
Setting up a no WiFi baby monitor is simpler than you think. Follow this straightforward guide to get your HelloBaby monitor running in minutes with secure, hack-free monitoring.
Setting up a baby monitor doesn't have to involve complicated WiFi passwords or app downloads. A no WiFi baby monitor offers plug-and-play simplicity with enhanced security, making it ideal for parents who want reliable monitoring without internet dependency.
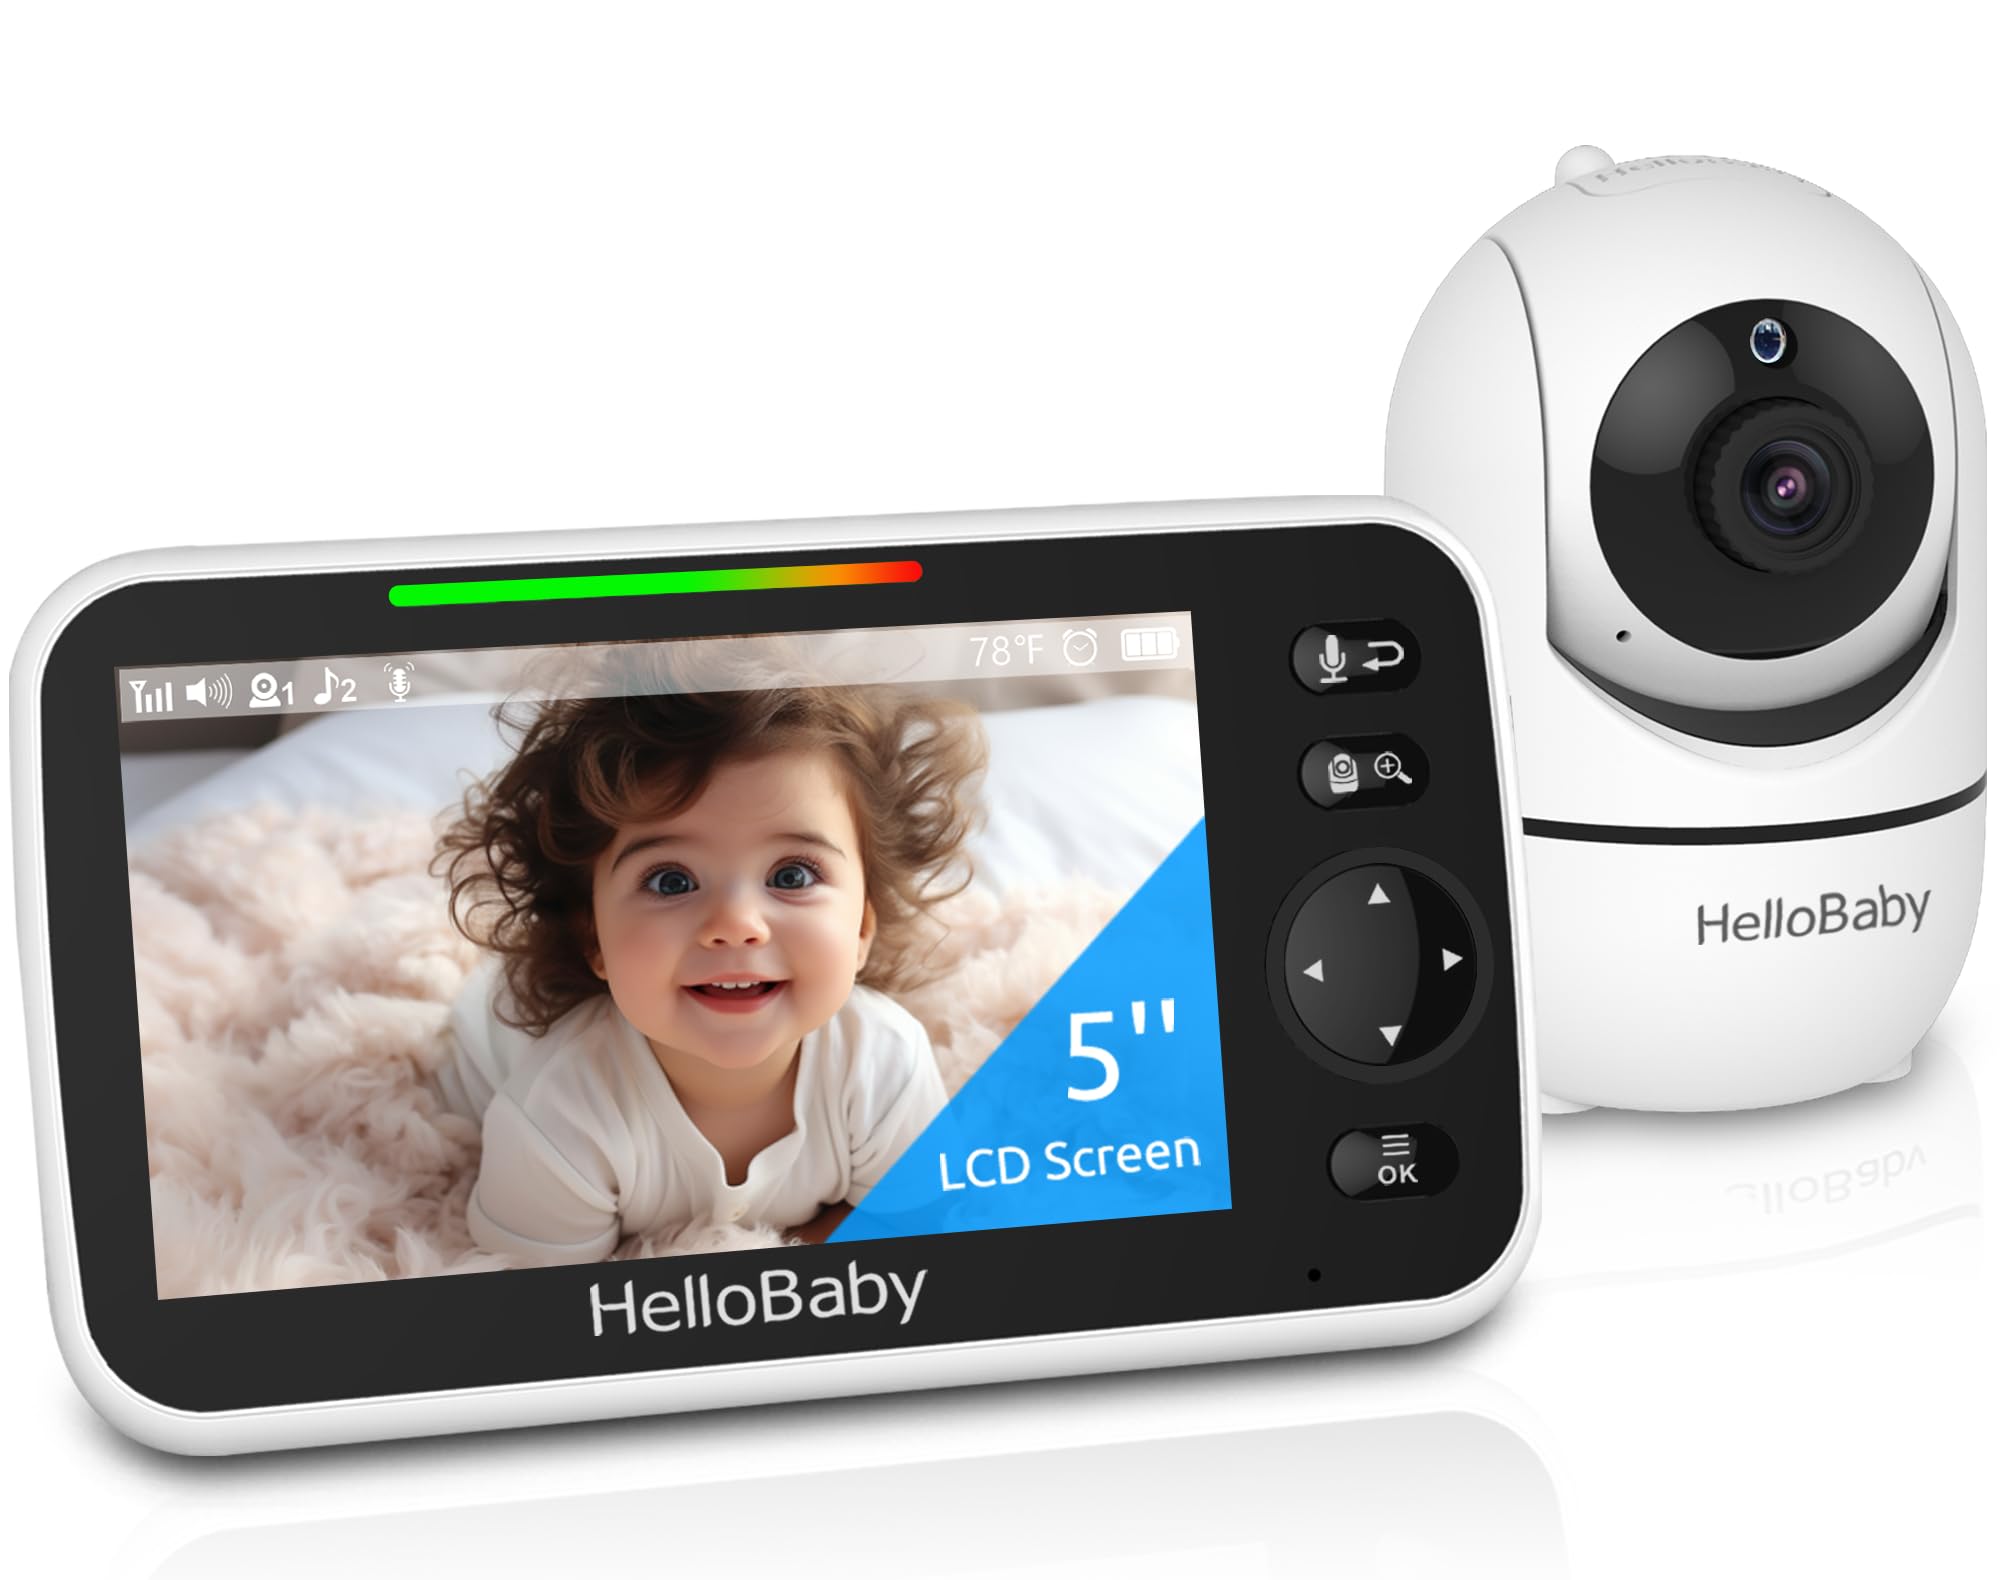
This guide walks you through setting up the HelloBaby No WiFi Baby Monitor 5" Screen 30-Hour Battery Pan-Tilt-Zoom Video Upgrade with Camera and Audio, Night Vision, VOX, 2-Way Talk, 8 Lullabies and 1000ft Range, HB6550, a straightforward system that eliminates hacking concerns while delivering clear video and audio monitoring.
What You'll Need Before Starting
Before unpacking your monitor, make sure you have a suitable location near your baby's crib with access to a power outlet. The camera should be positioned where it has a clear view of the sleeping area but remains out of reach. You'll also want the parent monitor within 1000 feet of the camera for optimal signal strength.
Step-by-Step Setup Process
Step 1: Unpack and Charge the Monitor
Remove all components from the package. The HelloBaby HB6550 includes the parent unit with a 5-inch screen, camera unit, power adapters, and mounting hardware. Plug in the parent monitor and allow it to charge fully before first use. The 30-hour battery life means you can move freely around your home without constant recharging.
Step 2: Position and Power the Camera
Place the camera on a stable surface or mount it on the wall using the included hardware. Position it 5-8 feet away from the crib at an angle that covers the entire sleeping area. Connect the camera to its power adapter. The noiseless pan-tilt function allows 355° horizontal and 120° vertical rotation, so you can adjust the viewing angle remotely after setup.
Step 3: Power On and Pair Devices
Turn on both the camera and parent monitor. The units use 2.4GHz FHSS technology with digital encryption, so they pair automatically without any WiFi configuration. Within seconds, you should see live video feed on the 5-inch display. If pairing doesn't happen automatically, consult the quick-start guide for manual pairing instructions.
Step 4: Adjust Settings and Test Features
Use the parent monitor controls to test the pan-tilt-zoom function, ensuring you can see all corners of the nursery. Enable infrared night vision to verify clear visibility in darkness. The invisible infrared LED provides a clear video feed without disturbing your baby with visible light. Test the two-way audio by speaking through the monitor, and explore the 8 built-in lullabies.
Step 5: Configure Alerts and Preferences
Set up room temperature monitoring and alerts to receive notifications if the nursery gets too warm or cold. Activate VOX mode to conserve battery by switching to audio-only when no movement is detected. Adjust the sound level LED indicator sensitivity based on your baby's typical noise patterns.
Key Features That Simplify Monitoring
| Feature | Benefit |
|---|---|
| No WiFi Required | Eliminates hacking risks and simplifies setup |
| 2X Zoom Function | Allows close-up views without entering the room |
| Multi-Camera Expandability | Supports up to 4 cameras for multiple rooms |
| 30-Hour Battery Life | Extended cordless monitoring throughout the day |
Troubleshooting Common Setup Issues
If you experience signal interference, move the camera away from other electronic devices operating on the 2.4GHz frequency. For optimal range, ensure there are minimal walls or large metal objects between the camera and parent monitor. The system maintains reliable connection up to 1000 feet in open spaces, though walls will reduce this distance.
If the screen appears dark during daytime, check that night vision hasn't been activated accidentally. If audio seems delayed, ensure both units are within recommended range and that no physical obstructions block the signal path.
Final Verdict
The HelloBaby HB6550 delivers straightforward setup with robust features for reliable baby monitoring. The no WiFi design removes connectivity headaches while providing secure, encrypted transmission between camera and monitor. Setup takes less than 10 minutes from unboxing to active monitoring.
Parents appreciate the long battery life, clear night vision, and responsive pan-tilt controls. The ability to expand with additional cameras makes this system adaptable as your family grows.
Who This Monitor Suits
- Parents seeking a plug-and-play solution without app configuration
- Families concerned about WiFi security and hacking risks
- Households with unreliable internet connections or WiFi dead zones
- Parents who want extended battery life for portable monitoring
- Families planning to monitor multiple rooms with expandable cameras
Who Should Consider Alternatives
- Parents who prefer smartphone access and remote viewing while away from home
- Families wanting video recording and cloud storage capabilities
- Tech-savvy users seeking integration with smart home systems
Setting up a no WiFi baby monitor eliminates the complexity of network configuration while maintaining the security and reliability parents need. With simple pairing, comprehensive features, and freedom from internet dependency, this approach delivers peace of mind with minimal technical demands.
Related Buying Guides
- Car Seat Protector Features That Actually Matter for Everyday Parenting
- Best Baby Carrier with Hip Seat for Baby Shower Gifts 2026
- SafeRest vs Shunjie.Home Crib Mattress Protector: Which One Should You Buy?
- Winter Dry Skin Season: Cotton vs Muslin No-Scratch Mittens for Newborns Under $15
- Summer Road Trip Cup Holder Fixes Every Family Car Needs
- Newborn No-Scratch Mittens Under $15: Cotton vs Muslin for Daily Rotation