How to Use an Electric Nasal Aspirator Safely: Step-by-Step Guide for New Parents
A practical step-by-step guide to using an electric nasal aspirator on a baby, from prep and tip sizing to suction levels and between-use cleaning.
New parents quickly learn that a stuffy nose turns a content baby into a fussy one in minutes. An electric nasal aspirator removes the guesswork from clearing tiny nostrils. Used correctly, it is faster, quieter, and far more hygienic than a bulb syringe. This guide walks through when to use one, how to set it up, and how to clean it between sessions so every pass is safe and effective.
When to Reach for an Electric Aspirator
Reach for the device when your baby is having trouble feeding, sleeping, or breathing through the nose. Colds, dry indoor air, and seasonal allergies all cause congestion that newborns cannot blow out on their own. Electric models deliver consistent, adjustable suction so you can clear mucus in seconds instead of fighting a squirmy baby with a manual syringe.
Prep Checklist Before Each Session
- Wash your hands and lay baby on a flat, safe surface.
- Confirm a full charge or a battery indicator that looks healthy.
- Pick the silicone tip that matches your baby's current nostril size.
- Have a soft cloth or tissue ready for drips.
- Choose a calm moment, ideally after a warm bath or a short feed.
Step-by-Step: Using the Aspirator Safely
Step 1: Power On and Pick a Suction Level
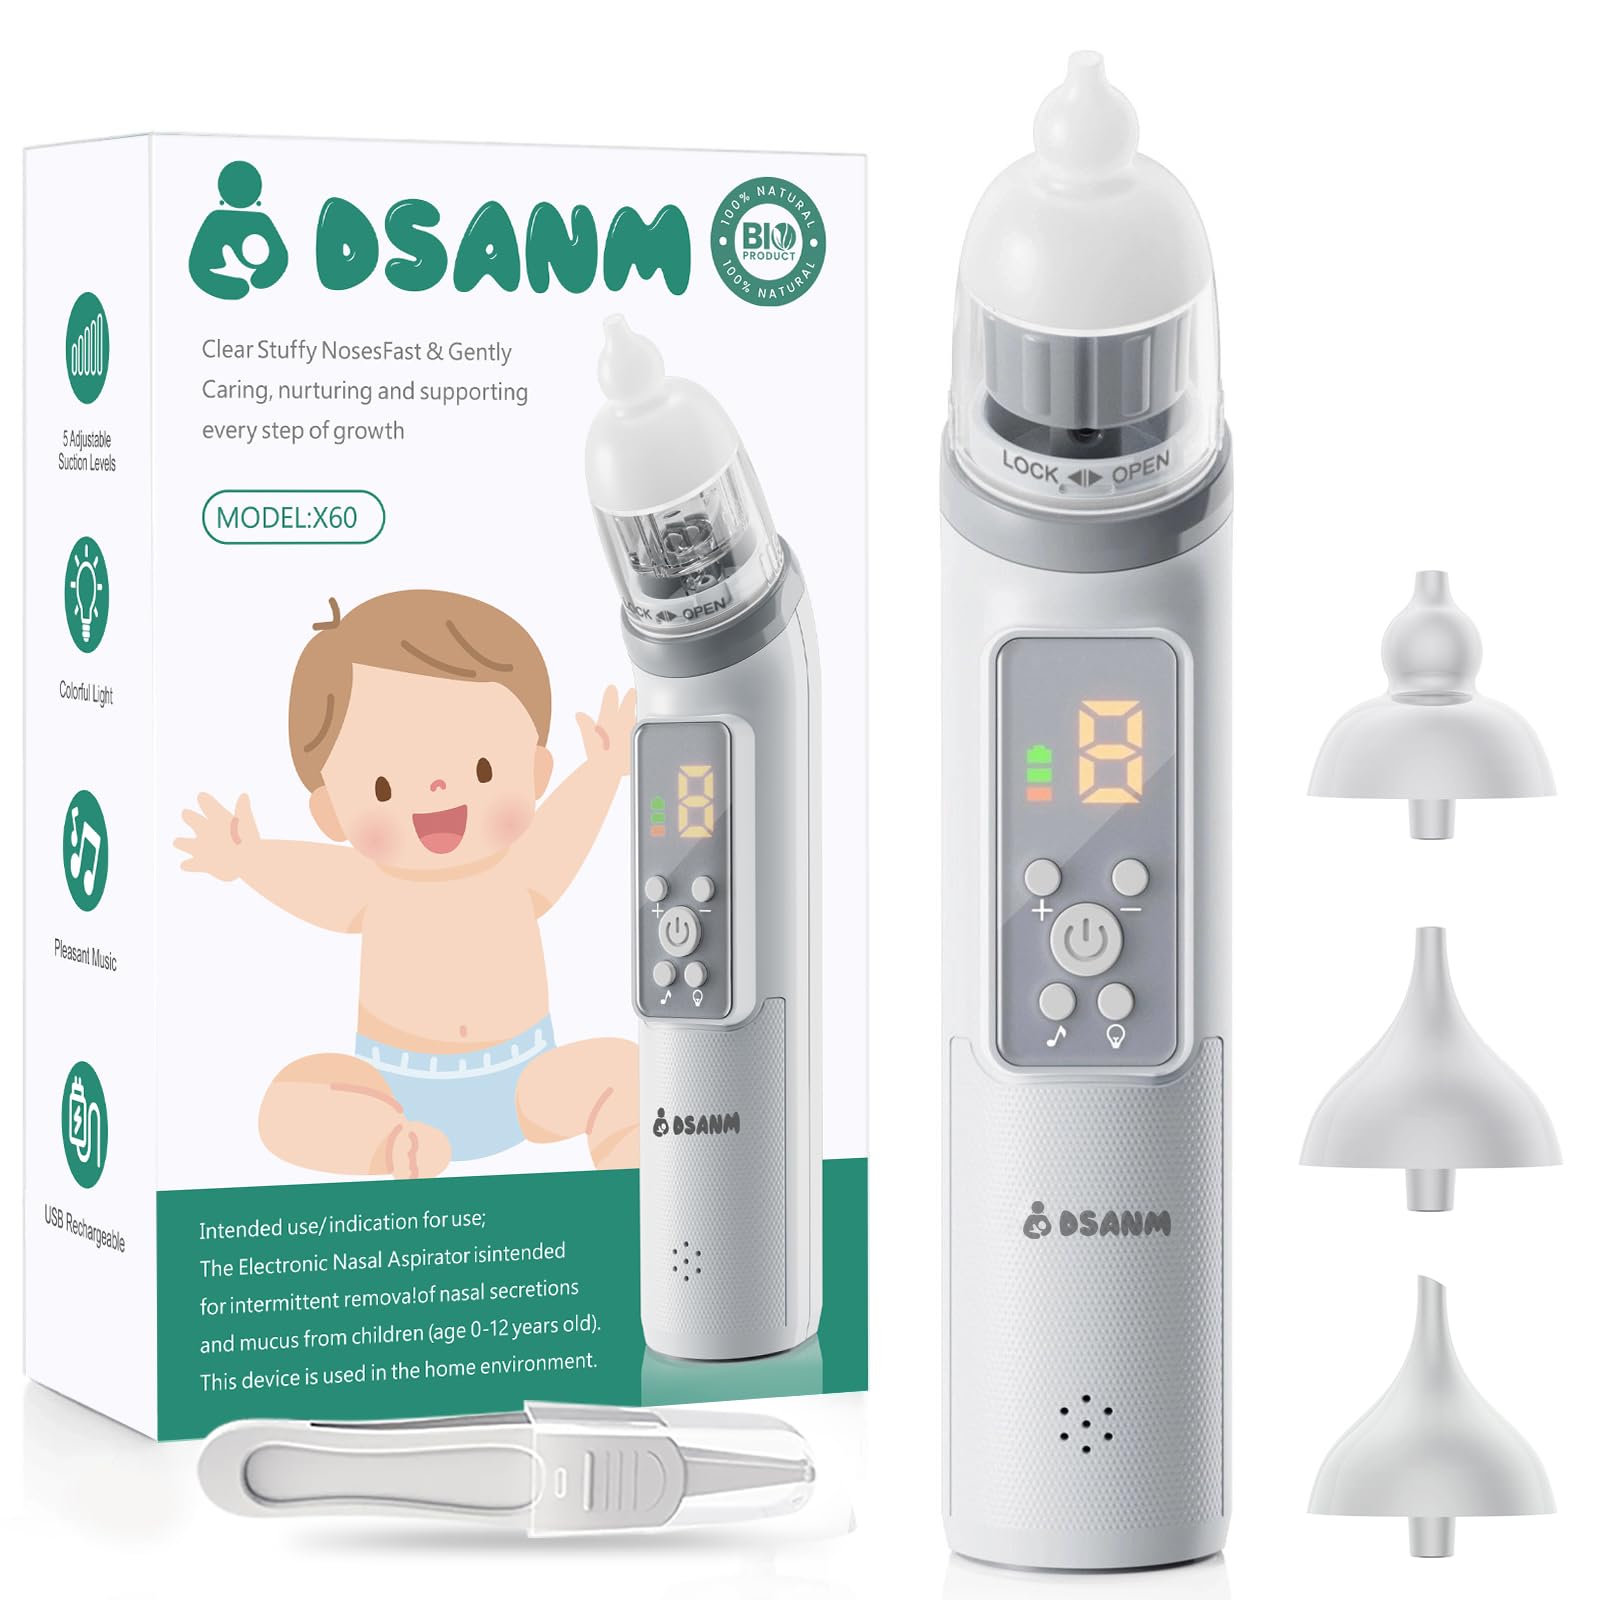
Start on the lowest setting. The clear digital readout on the Electric Nasal Aspirator for Babies, USB Rechargeable Gift, Digital Display, with Multiple Tip Attachments shows the current level and battery status at a glance, so you always know what is running. Increase only if needed.
Step 2: Position Baby Comfortably
Lay baby on the back with the head slightly tilted. A light swaddle around the arms reduces flailing. The ergonomic, handheld shape lets you operate the device with one hand and steady baby's head with the other.
Step 3: Seal and Suction
Gently press the soft tip against one nostril so it forms a light seal on the outside, never inserted deep. Suction for two to three seconds, release, and pause so baby can take a breath. Repeat two or three times per nostril, then switch sides.
Step 4: Soothe and Reassess
If baby cries, pause, cuddle, and try the other nostril. Stop the session entirely if baby is extremely distressed, then try again later when calm.
Matching Tip and Suction to Age
| Age Range | Recommended Tip | Starting Suction |
|---|---|---|
| 0 to 3 months | Smallest cone tip | Lowest level |
| 3 to 12 months | Mid-size tip | Low to mid |
| 12 months and up | Larger tip | Mid to high |
Cleaning Between Uses
Detach the tip after each session and rinse under warm running water. Air-dry every part fully before reassembly so moisture does not collect in the tubing. Refer to the included user manual for any deeper cleaning, and store the unit charged and ready in a diaper-bag pouch for travel days.
Balanced Verdict
The Electric Nasal Aspirator for Babies, USB Rechargeable Gift, Digital Display, with Multiple Tip Attachments delivers gentle, adjustable suction with a clear digital readout, multiple tip sizes for growing noses, and USB charging that removes disposable batteries from the routine. It sits in the mid-range tier and rewards parents who want a reusable, controlled tool instead of a manual syringe.
Who it suits: Parents of newborns through toddlers who deal with frequent congestion, travel often, or want a rechargeable alternative to bulb syringes.
Who should skip: Parents who prefer a fully disposable option for shared nurseries or who only need occasional, very mild suction.
Check latest price on the Electric Nasal Aspirator
Related Buying Guides
- Cup Holder Upgrades for Parents Who Live in Their Car
- Best Baby Feeder for Mess-Free Self-Feeding Practice
- Baby Silicone Placemat Not Staying Put? How to Fix the 5 Most Common Mealtime Mat Problems
- How to Pick a Nursing Cover That Keeps Eye Contact With Your Baby
- Giraffe Baby Laundry Basket Review: Cute Meets Functional in the Nursery
- Need a Replacement Swaddle? Why the Love to Dream Swaddle UP Is the One to Reorder